

DIY Clay Masks: Recipes and Benefits for Glowing Skin
There is something deeply satisfying about spackling your face with mud. It’s the ultimate Friday night ritual. You mix up a clay mask, pour a glass of wine, and convince yourself that you are five minutes away from glowing skin.
But here is the reality check: DIY skincare can go wrong. Fast.
I’ve seen people burn their faces with cinnamon and clog their drains with cement-like sludge. I’ve done it myself. But when you get it right, a homemade clay face mask is a game of pure magic. It’s cheap, it’s effective, and it makes you feel like a chemist in your own bathroom.
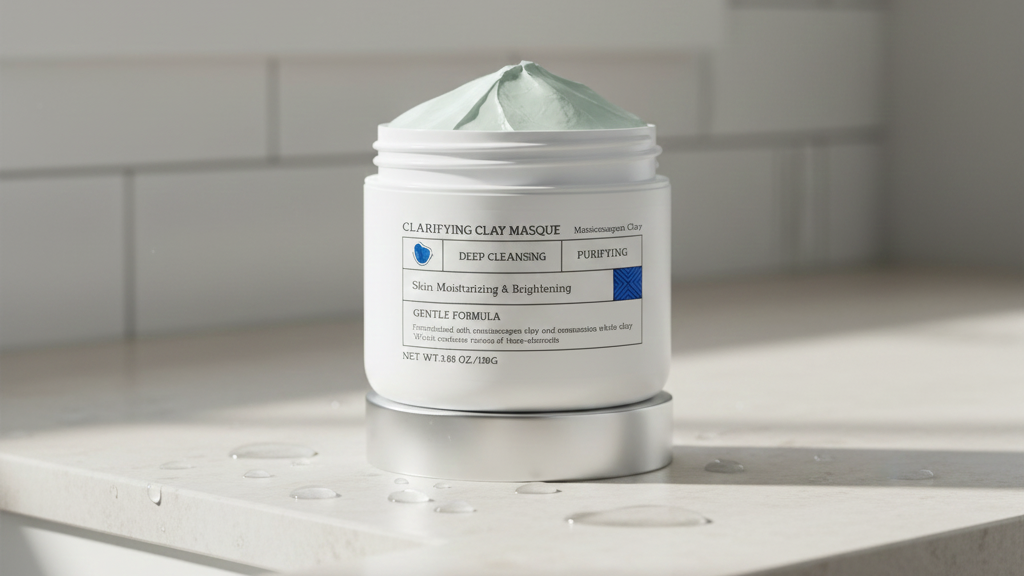
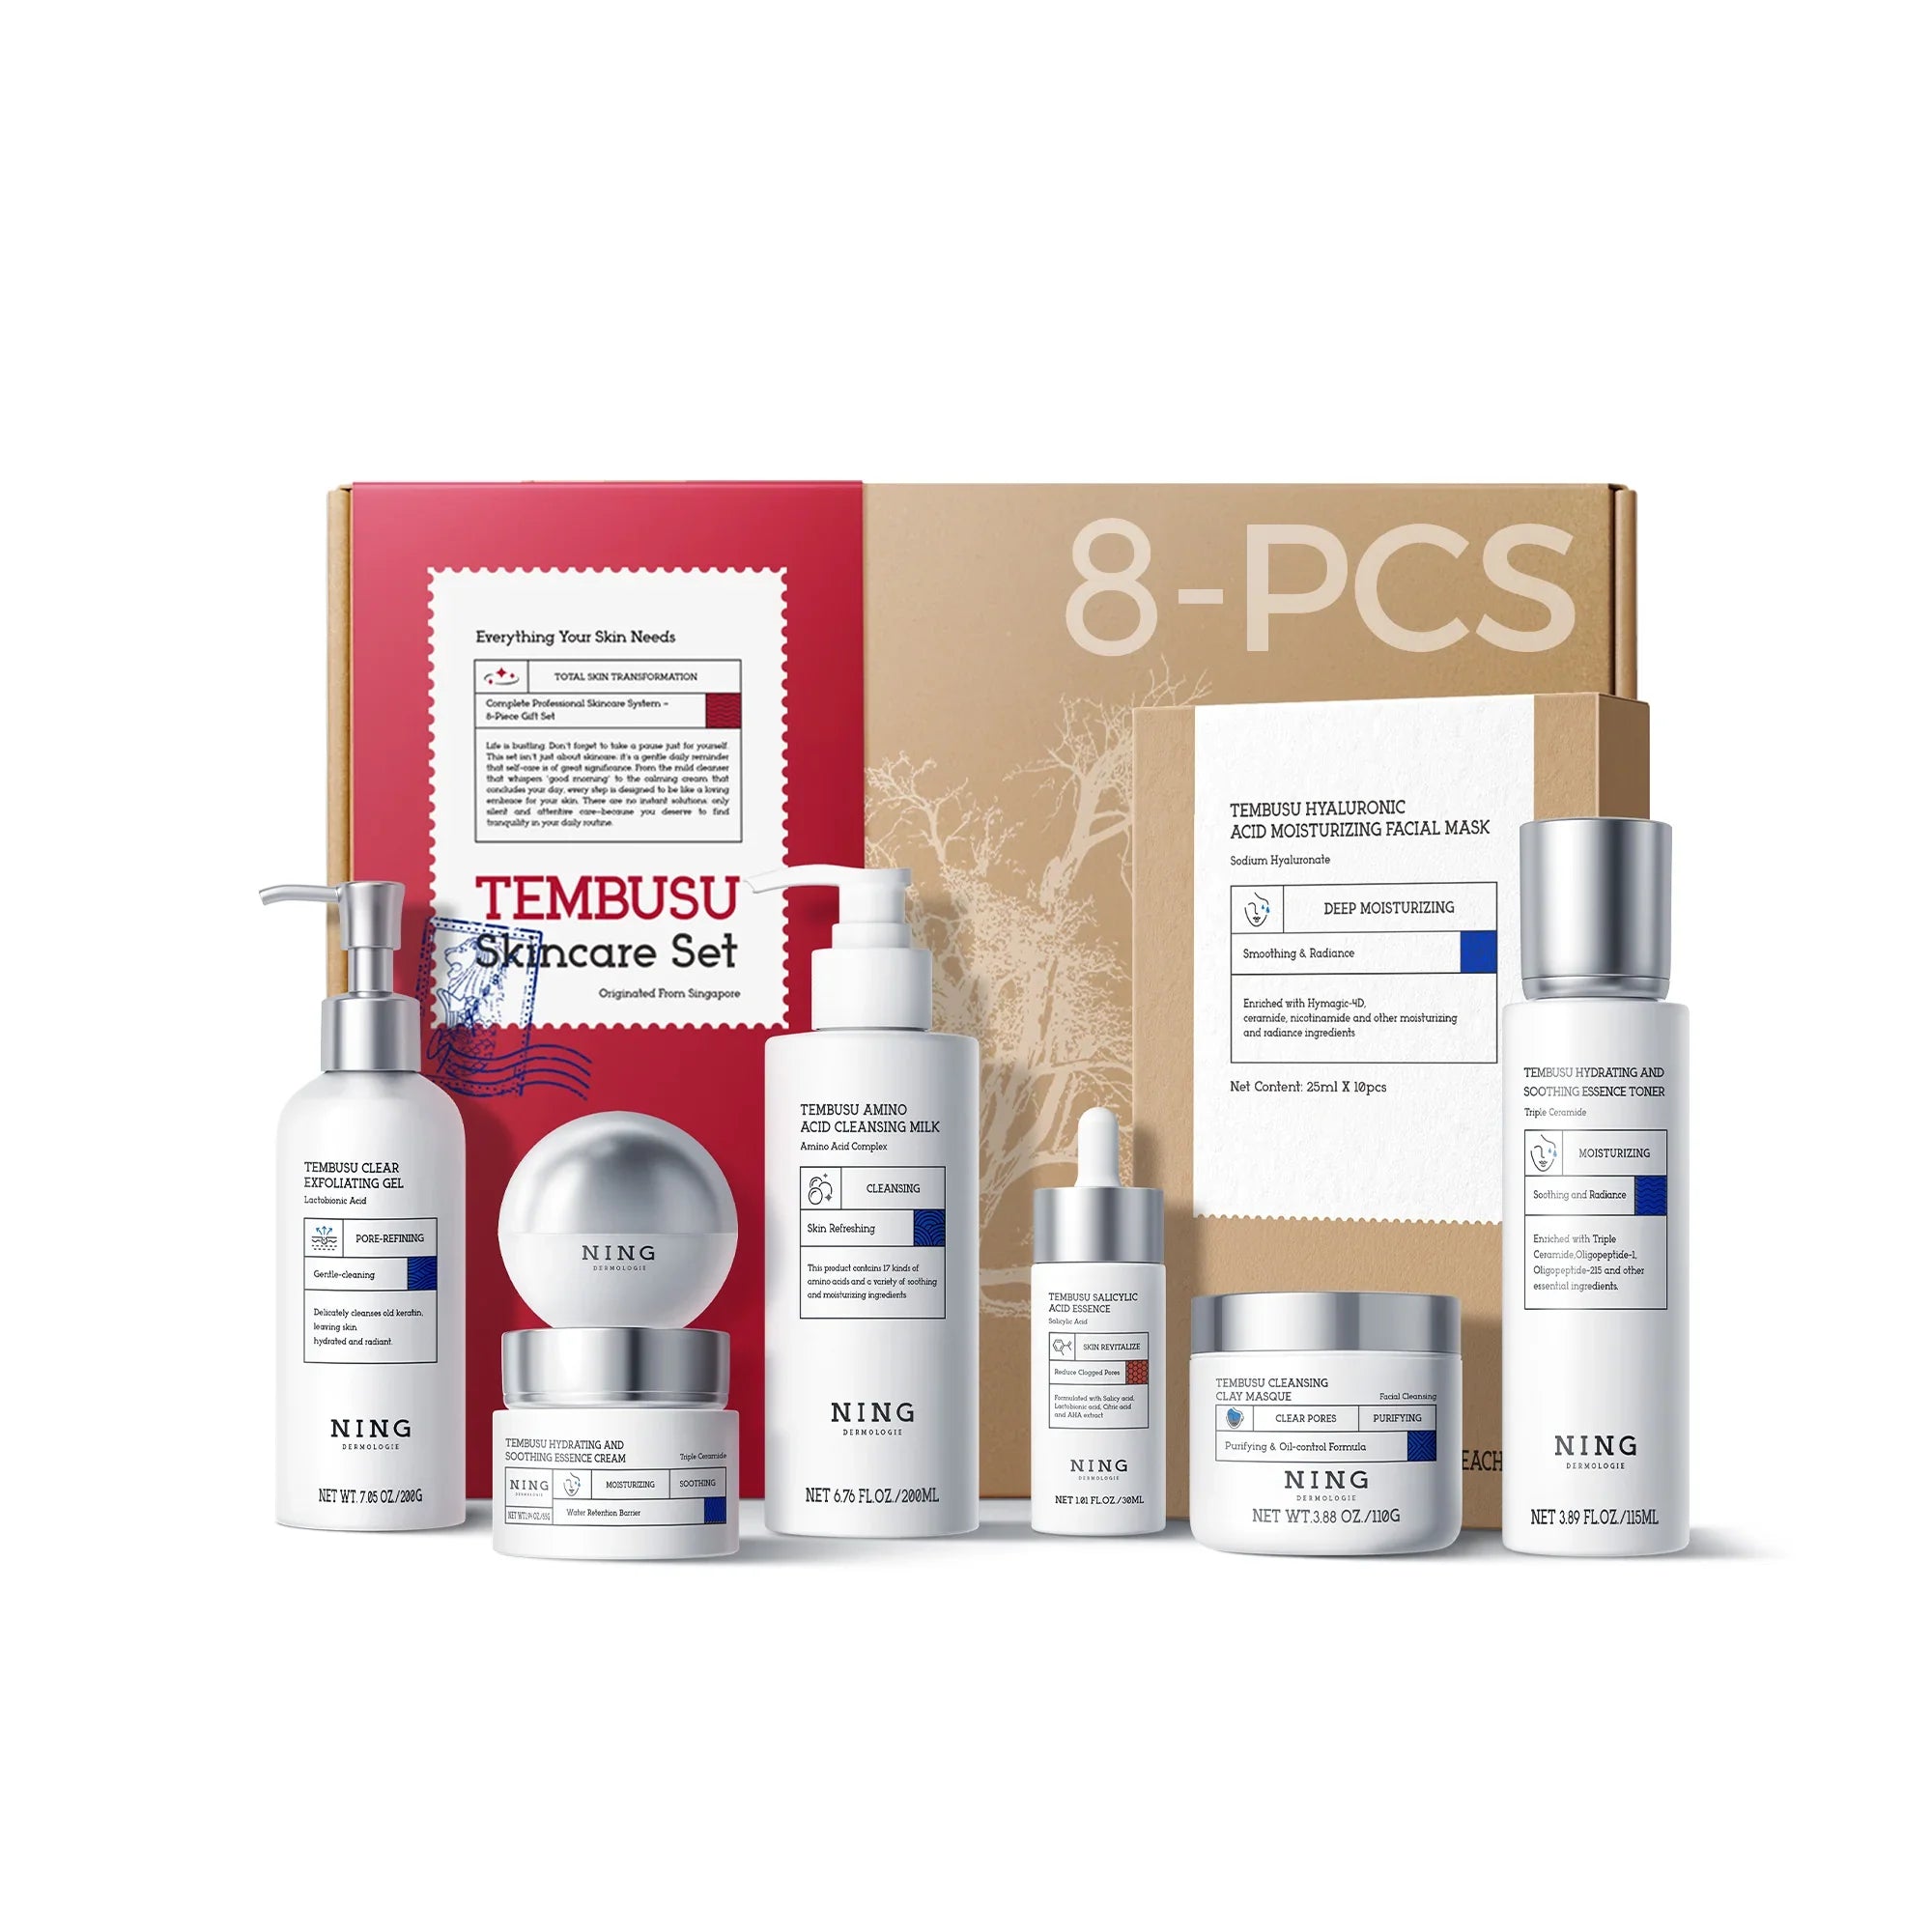
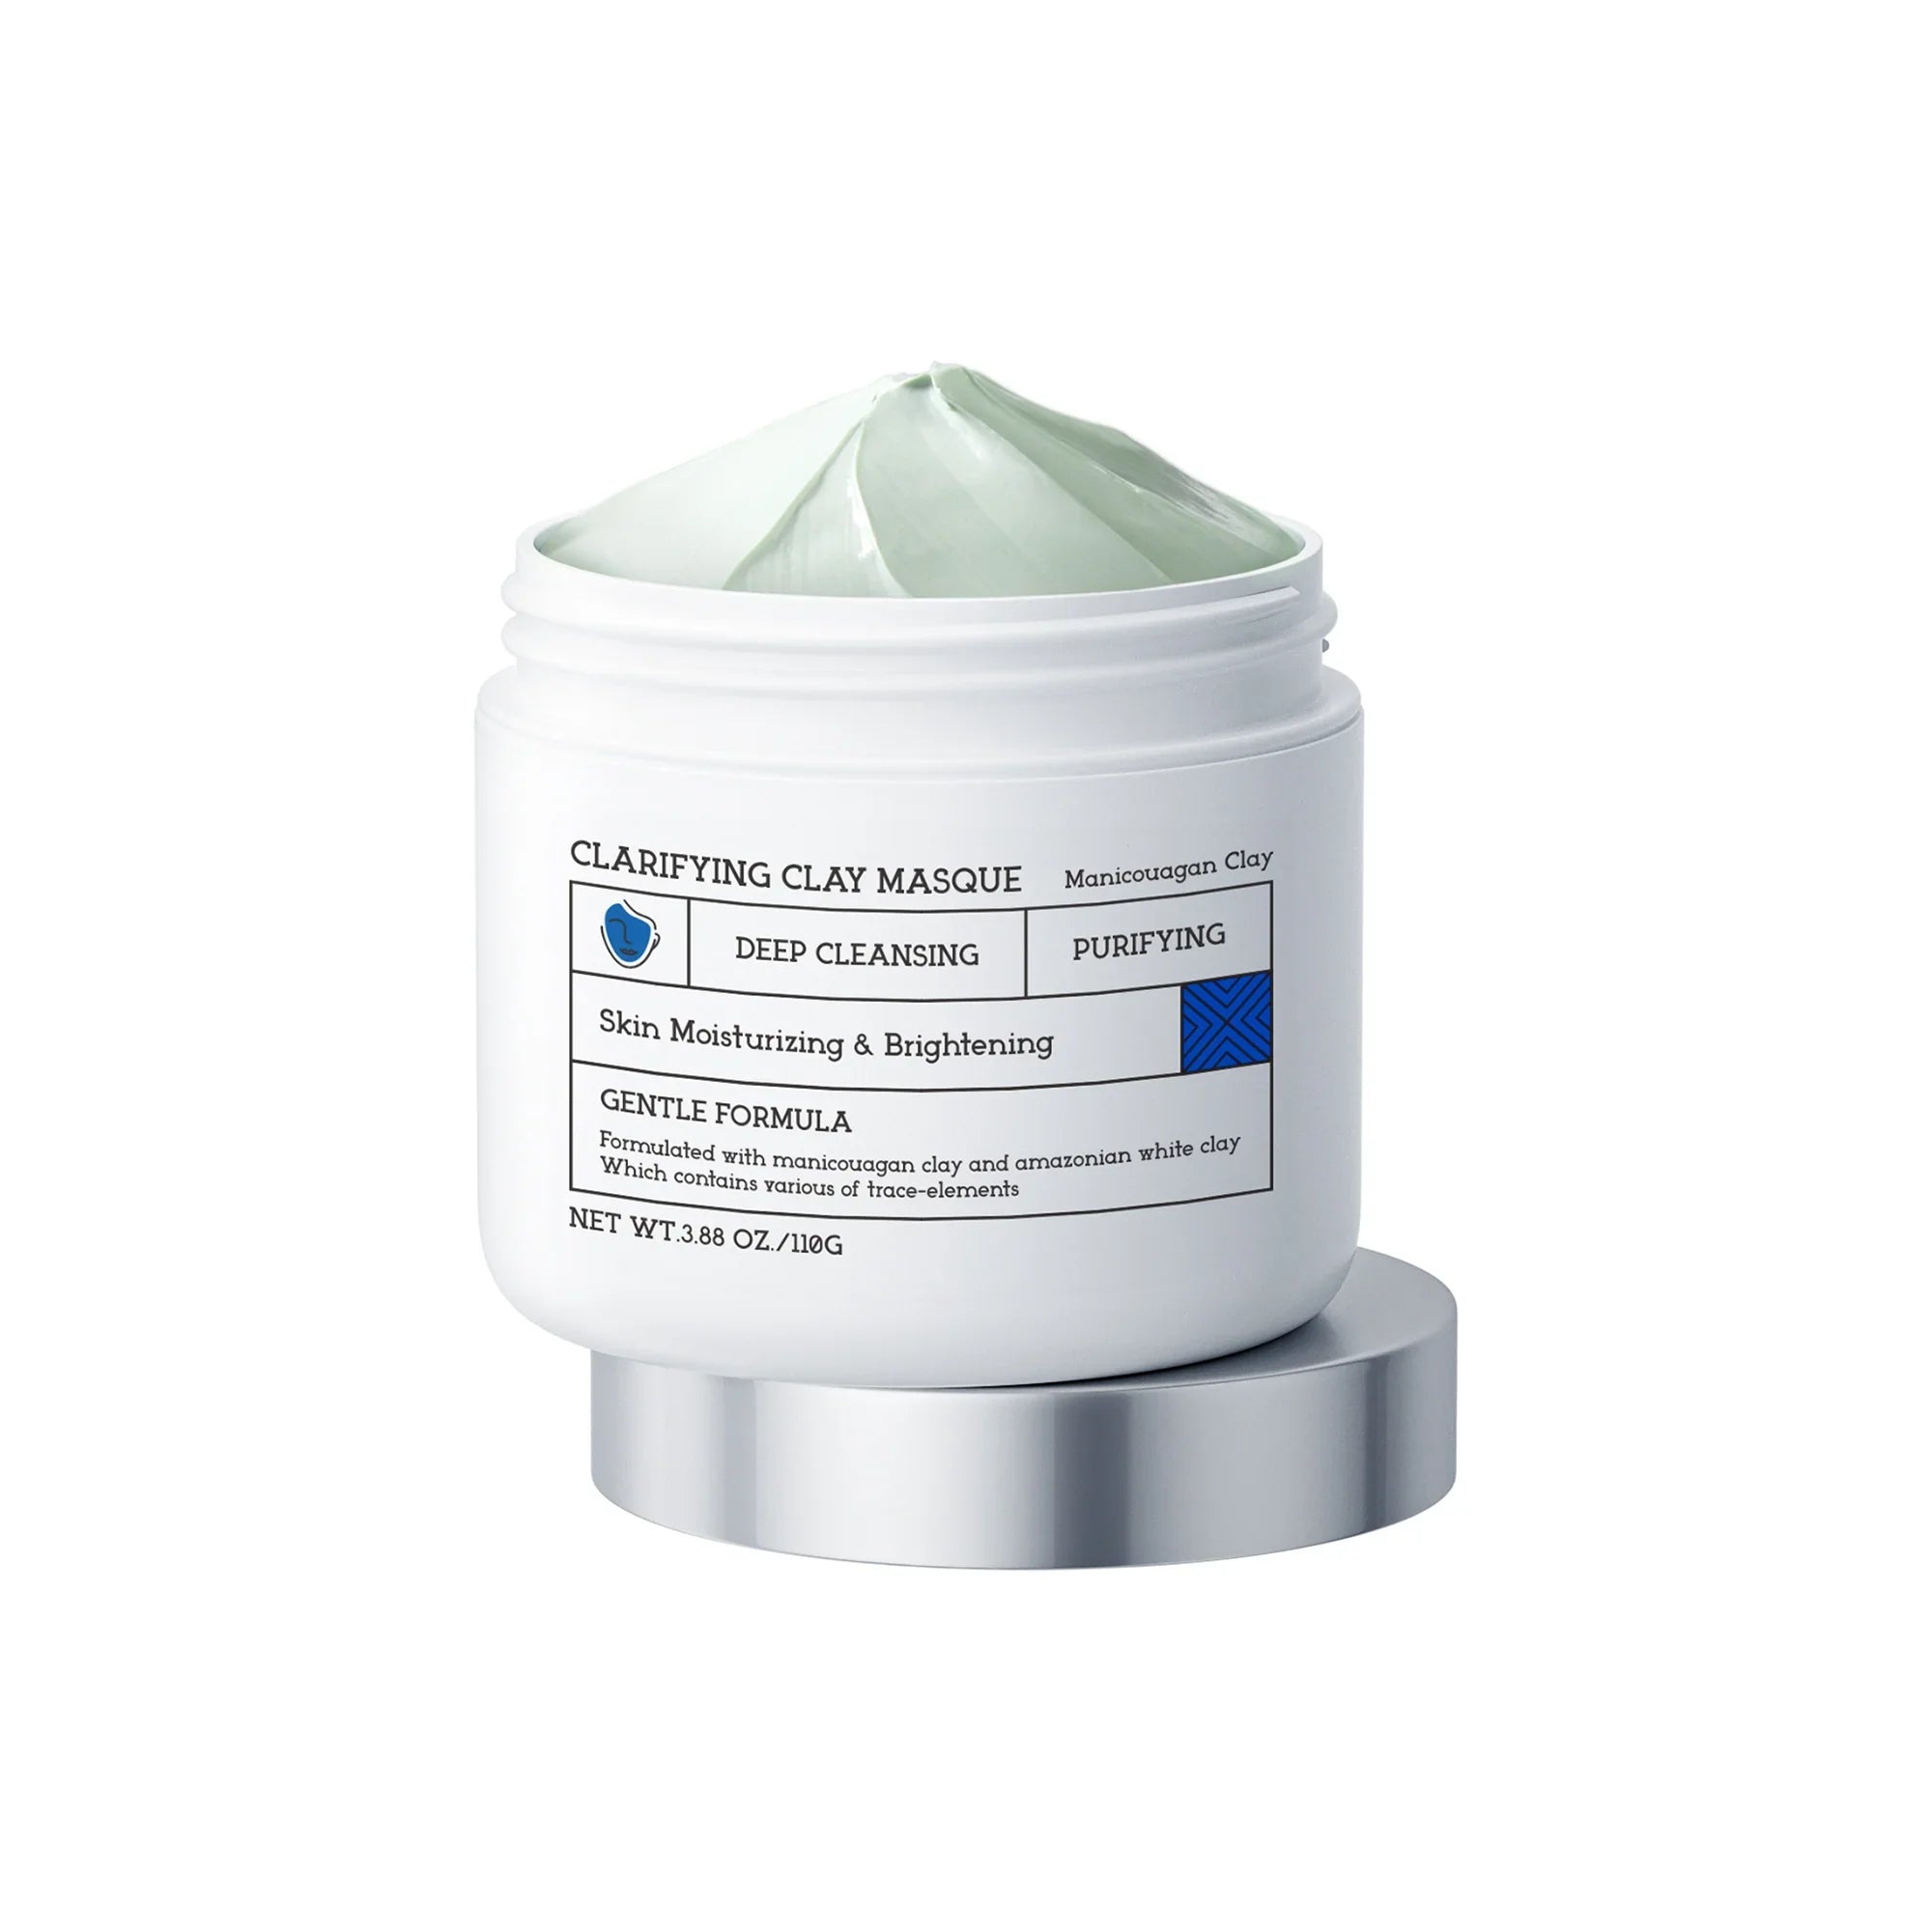
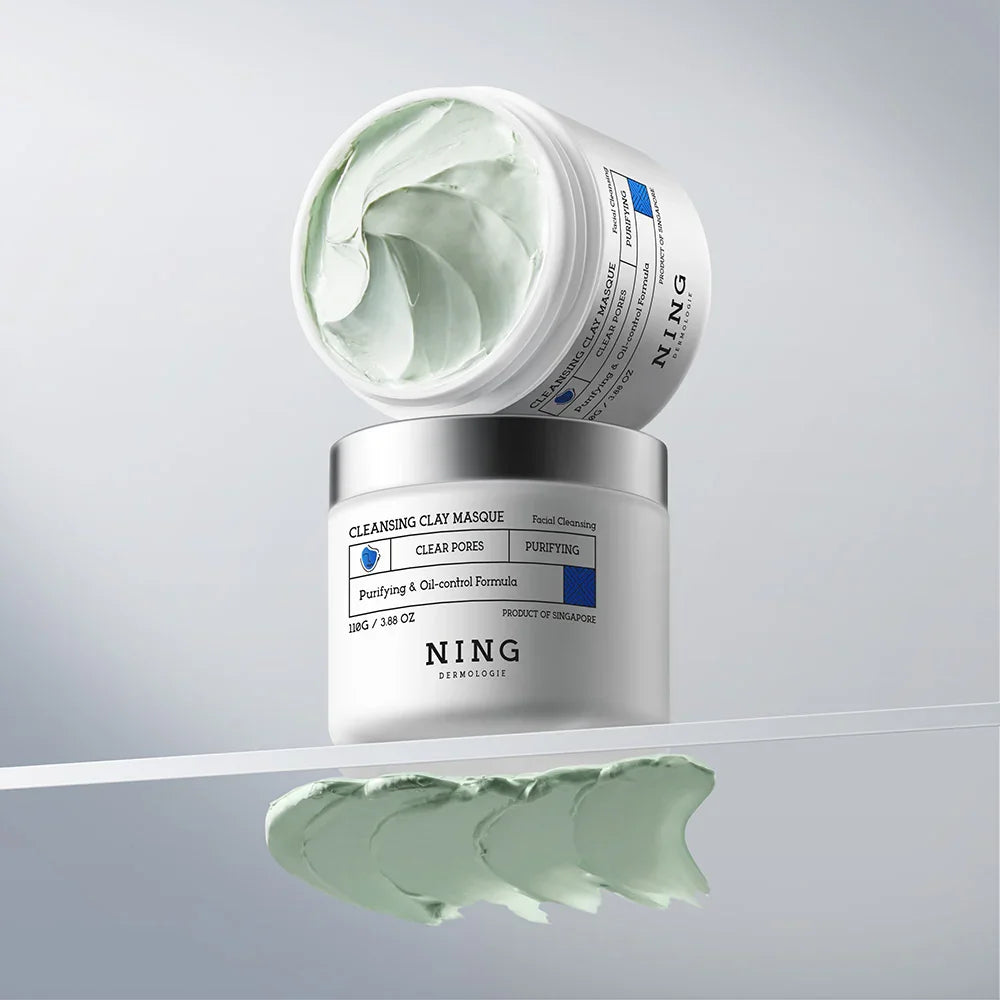
In this guide, we aren't just listing random face mask recipes found on Pinterest. We are going to look at how to actually make this mask work for your specific skin type, how to handle ingredients like apple cider vinegar without regretting it, and when—let's be real—you should just grab a pre-made tube like the NING Dermologie Clay Mask for Face Sensitive Skin and call it a day.
Let’s get your hands dirty.

Why Put Clay on Your Face Anyway?
Before we get to the mask recipe section, you need to know what this stuff actually does. Clay isn't just dirt. It is a mineral powerhouse.
Think of clay as a magnet. When wet, most clays (especially bentonite clay) produce an electrical charge. This charge binds to the toxin and heavy metals sitting on the surface of your skin. It pulls out excess oil, environmental gunk, and the impurity buildup that leads to blackheads.
Basically, a clay mask acts like a vacuum for your pores.
But it does more than just cleanse. It exfoliates. As you wash the clay off, the mild texture helps remove dead skin cells, leaving you with that smooth, "I just left the spa" feeling. Whether you have oily skin, dry patches, or sensitive skin, there is a clay out there for you. You just have to pick the right one.
Understanding Different Types of Clay
Not all mud is created equal. If you use a high-powered vacuum on a silk rug, you ruin the rug. The same logic applies to your face.
Bentonite Clay: The Heavy Lifter
This is the volcanic ash stuff. Bentonite clay is incredibly absorbent. It swells when mixed with water and is the go-to for oily skin or acne-prone skin. It is aggressive. It means business. If you have sensitive cheeks, this might be too much for you unless you buffer it with oil.
Kaolin Clay: The Gentle Giant
White or Yellow Kaolin is much softer. It doesn’t suck the life out of your face. It gently absorbs excess sebum without stripping your natural moisture barrier. This is a great starter clay.
Pink Clay: The Balancer
Pink clay is usually a mix of red and white clays. It’s the Goldilocks option—not too harsh, not too weak. It’s fantastic for sensitive skin and for promoting radiant skin. It’s rich in iron oxide and silica, which helps improve elasticity.
Pro Tip: If the idea of measuring powders and guessing pH levels stresses you out, this is why we developed NING Dermologie. Our Clay Mask for Face Sensitive Skin https://ningcos.com/products/clay-mask-for-face-sensitive-skin uses a perfectly balanced formula that gives you the deep clean without the "my face is cracking" sensation. Sometimes, trusting a lab-formulated product is safer than playing kitchen witch.
Simple DIY Bentonite Clay Mask Recipe for Oily Skin
If your T-zone is an oil slick by noon, this is your weapon. This simple DIY recipe uses the power of bentonite to degrease your face.
The Ingredients:
- 1 tablespoon Bentonite clay
- 1 tablespoon Apple cider vinegar (with the mother)
- 1 drop Tea tree essential oil (optional, for bacteria)
The Method: Get a plastic or wooden bowl. Do not use metal. Bentonite reacts with metal, which can reduce its effectiveness.
-
Mix the clay and the vinegar. It will fizz. That’s normal; it’s a science experiment on your counter.
-
Stir until you get a smooth consistency. If it's too thick, add a splash of water.
-
Apply to your whole face or just the T-zone.
-
Wait 10 to 15 minutes.
Why it works: The vinegar balances the high pH of the bentonite, bringing it closer to your skin's natural acidity. This helps purify the pores deeply.
Homemade Pink Clay Mask for Glowing Skin
This is my favorite mask recipe for a dull complexion. If you look tired, try this. Pink clay is much more forgiving and leaves your skin looking refreshed rather than stripped.
The Ingredients:
- 1 tablespoon Pink clay
- 1 teaspoon Honey (Raw is best)
- 1 teaspoon Rose water (or plain water)
- 2 drops Lavender essential oil
The Method:
-
Combine the pink clay and rose water in a small dish.
-
Stir in the honey. Honey is a humectant, meaning it grabs moisture and holds it to your skin.
-
Apply evenly.
-
Leave it for 10 minutes or until it gets tacky.
Why it works: This is a calming mask. The honey combats bacteria while keeping the skin soft, and the pink clay gently polishes. It’s perfect for healthy skin maintenance.
Two-Ingredient Clay Mask to Soothe Sensitive Skin
If you have sensitive skin, the word "exfoliate" probably scares you. It shouldn't. You just need a buffer.
The Ingredients:
- 1 tablespoon White Kaolin Clay or Pink Clay
- 1 tablespoon Plain Yogurt (or Aloe Vera Gel)
The Method:
-
Mix the clay into the yogurt.
-
Apply a thick layer. The cold yogurt feels amazing on inflamed skin.
-
Rinse after 10 minutes with cool water.
Why it works: The lactic acid in yogurt offers a very mild chemical exfoliation, while the probiotics help soothe irritation. The clay acts as a binder to lift away surface dirt without being harsh.
The Rules of the Road: Making a DIY Mask Safely
Writing about face mask recipes is easy. Actually doing it without ruining your skin requires some know-how. Here is what nobody tells you about DIY face treatments.
1. The "Crack" Myth
You know that feeling when the mask dries completely, cracks, and you can’t move your mouth? Stop doing that. When a clay mask dries fully to the point of cracking, it starts drawing moisture out of your skin cells. It causes micro-irritation. The rule: Wash it off when it is sticky, not dry. Usually, this is around the 10 minutes mark. Touch your cheek. If it feels like wet leather, it’s time to rinse.
2. The Metal Spoon Issue
As mentioned in the diy bentonite clay section, metal tools can mess with the magnetic charge of the clay. Use a wooden spatula, a plastic spoon, or just your fingers.
3. Essential Oils are Volatile
I love essential oil. But putting straight cinnamon or citrus oil into a mask can burn you. Always dilute them. One drop is enough for a single batch. If you have sensitive skin, skip them entirely or stick to safe bets like lavender or chamomile to calm the skin.
4. Patch Test Everything
Natural doesn't mean safe. Poison ivy is natural. Before you slather a new ingredient all over your face, dab a little bit on your neck. Wait 24 hours. If it doesn't get red or itchy, you are good to go.

Integrating Clay into Your Routine
You shouldn't use a clay face mask every day. It’s too much.
For oily skin, aim for twice a week. This helps control the shine and keep acne-prone skin in check. For dry or sensitive skin, once a week or even every other week is plenty.
The best time to apply a mask? After a shower. The steam opens up your pores, making the clay's job easier. After you rinse (use a dark washcloth, white ones will get stained), immediately follow up with a toner and a moisturizer. Your skin will be thirsty.
Final Thoughts: DIY vs. Store-Bought
I love a good DIY clay session. It connects you to the ingredients. You know exactly what is going on your body. It is affordable, fun, and customizable.
However, homemade mud masks are messy. They don't have preservatives, so you can't store them; you have to make a fresh batch every time. And sometimes, getting the texture right is a hassle.
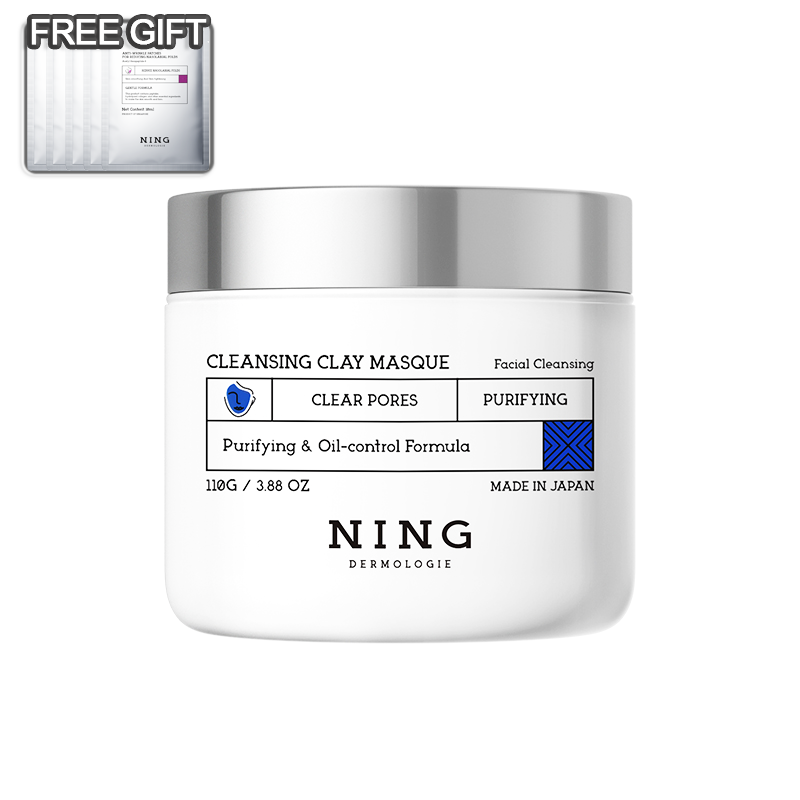
If you want the benefits of mineral-rich clay but lack the time (or the patience) to play chemist, looking for high-quality, pre-formulated options is smart. NING Dermologie focuses on exactly this balance. We took the headache out of the process with our Clay Mask for Face Sensitive Skin. We sourced the good quality clays and mixed them with soothing botanicals so you don't have to worry about pH levels or mixing bowls.
Whether you choose to mix it yourself with bentonite and vinegar, or squeeze it from a tube, the goal is the same: healthy skin, cleaner pores, and a moment of peace in your busy week.
Your skin deserves that deep breath.
Frequently Asked Questions (FAQ)
1. Can I use a clay mask if I have very dry skin?
Yes, but be careful. Avoid powerful clays like Bentonite which can absorb too much oil. Instead, opt for Kaolin or Pink Clay. These are milder. Crucially, add hydrating ingredients to your mask recipe like honey, yogurt, or a few drops of jojoba oil. Do not let the mask dry fully on your face; rinse it off while it is still slightly damp to prevent tight, flaky skin.
2. How long should I keep a DIY clay mask on my face?
The sweet spot is usually between 8 to 15 minutes. A common mistake is waiting for the mask to crack and crumble. This actually damages the skin barrier and causes dehydration. The mask goes through three phases: wet (skin drinks minerals), dry (blood flow stimulates), and crack (moisture is sucked out). Wash it off during the "dry" phase, before the "crack" phase begins.
3. Why does my face get red after using a clay mask?
Some redness is actually normal! As the clay dries and contracts, it stimulates blood flow to the surface of the skin, which brings oxygen and nutrients to your cells. This is often called "cutaneous vasodilation." However, the redness should fade within 30 minutes. If it burns, stays red for hours, or feels raw, you likely used an ingredient that was too harsh or kept it on too long.
4. Can I store my leftover homemade clay mask?
Generally, no. Because simple DIY recipes lack preservatives, bacteria can grow rapidly, especially if you used water, yogurt, or fresh ingredients. It is best to mix single-use amounts. If you must save it, put it in an airtight container in the fridge, but use it within 24 hours. If it smells funny or separates, throw it out immediately to avoid clogging your pores.
5. Does Bentonite clay really clog drains?
Yes, it can. Bentonite clay expands when it hits water. If you rinse a thick layer of clay straight down the sink regularly, it can accumulate in the pipes like cement. A pro tip is to wipe the bulk of the mask off with a paper towel and throw it in the trash first. Then, rinse the residue off your face with warm water. Your plumber will thank you.
6. Can I mix clay with metal spoons?
It is widely recommended to avoid metal. Bentonite clay has a negative electrical charge which makes it effective at absorbing toxins. The theory is that metal utensils can react with the clay, potentially reducing its charge and effectiveness before it even hits your skin. To be safe, always use wooden, plastic, ceramic, or glass bowls and stirring tools when making a diy mask.


Share:
Expert-Approved Clay Masks: Revitalize Your Skin and Clear Pores
Hydrate and Purify: Top Clay Masks for Dry and Sensitive Skin