
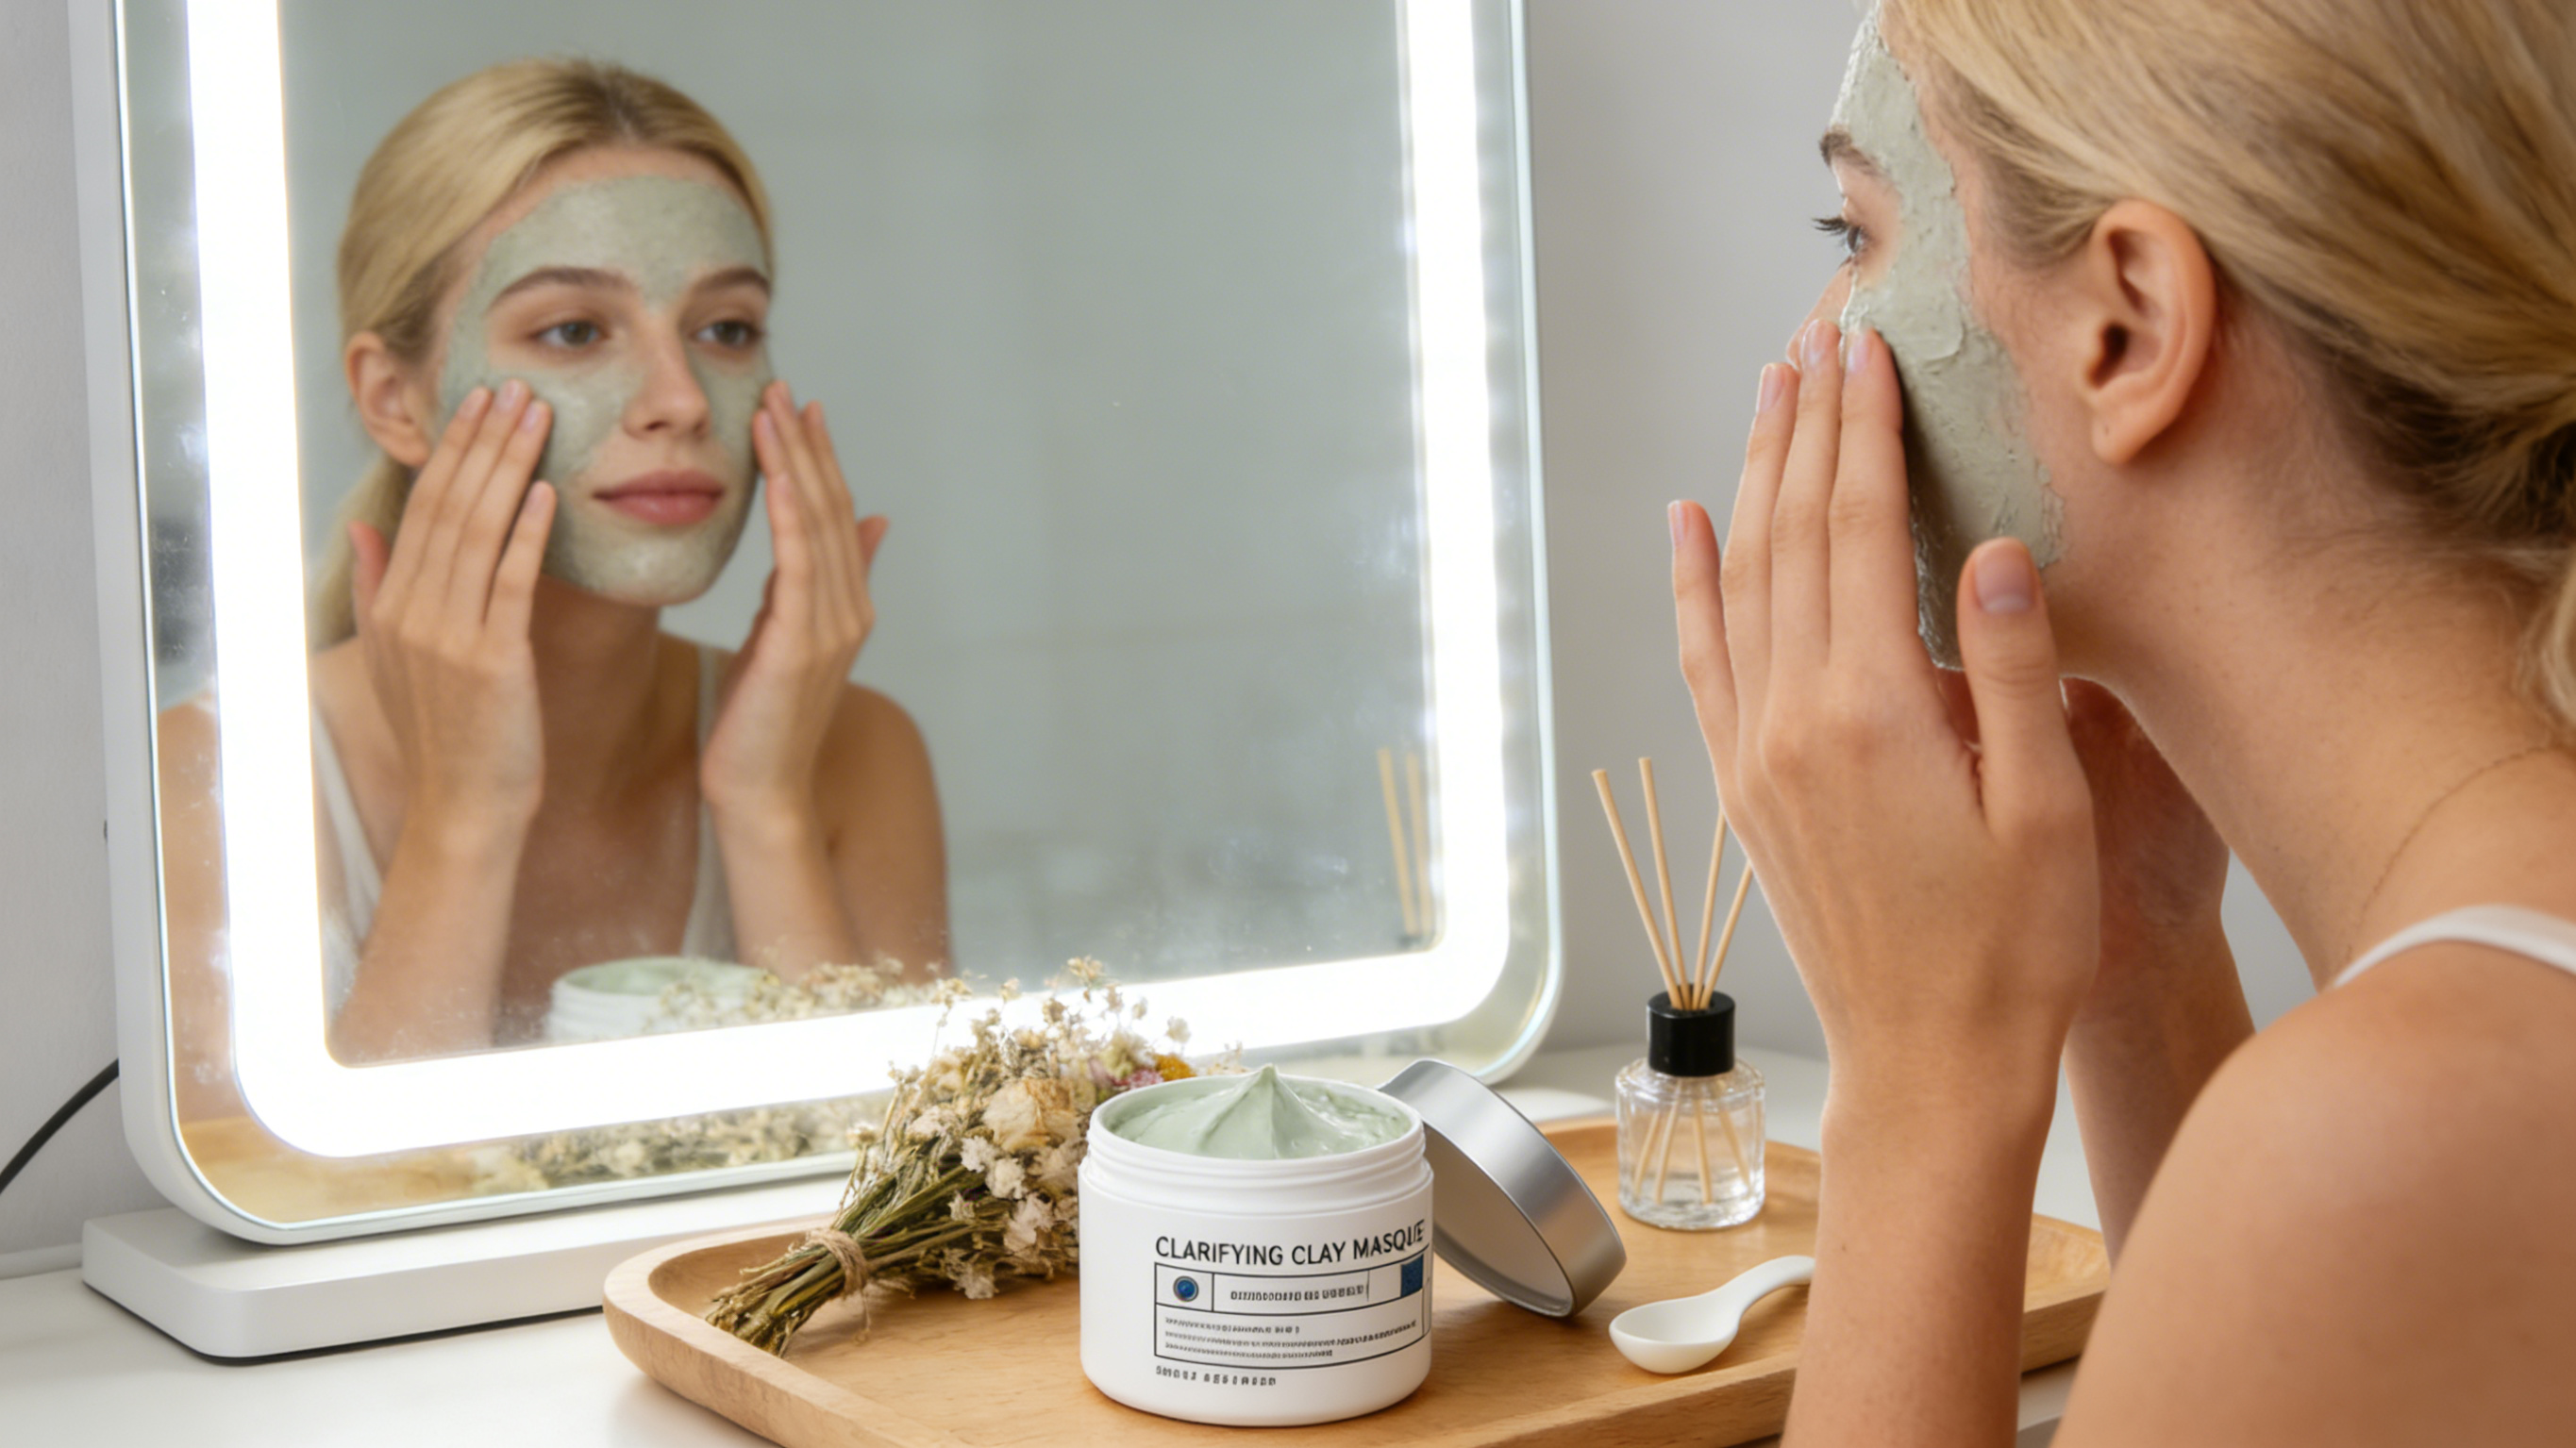

6 DIY Green Clay Mask Recipes for Glowing Skin & Acne Prone Relief
Let’s be honest: there is something incredibly satisfying about playing "chemist" in your own bathroom. Mixing up powders and liquids, applying a cool, earthy paste, and waiting for that magic moment when your pores feel squeaky clean—it’s a ritual. But if you’ve ever mixed a clay face mask that ended up too clumpy, too dry, or irritated your skin, you know that DIY face mask recipes aren't always as simple as Pinterest makes them look.
If you are looking to harness the power of French green clay or bentonite clay to banish oil and reveal glowing skin, you are in the right place. We aren't just going to list ingredients; we’re going to teach you how to balance them so you can make your own clay treatments that actually rival high-end spa facials.
Whether you have oily skin, dry skin, or acne-prone skin, the earth has provided a specific type of clay for you. Let’s get your hands dirty (literally) and dive into the world of natural DIY skincare.

Understanding the "Mud": Choosing Your Fighter
Before we start measuring out teaspoons, you need to understand that not all mud is created equal. Using the wrong clay powder is the number one reason DIY recipes fail.
The Heavy Lifter: French Green Clay
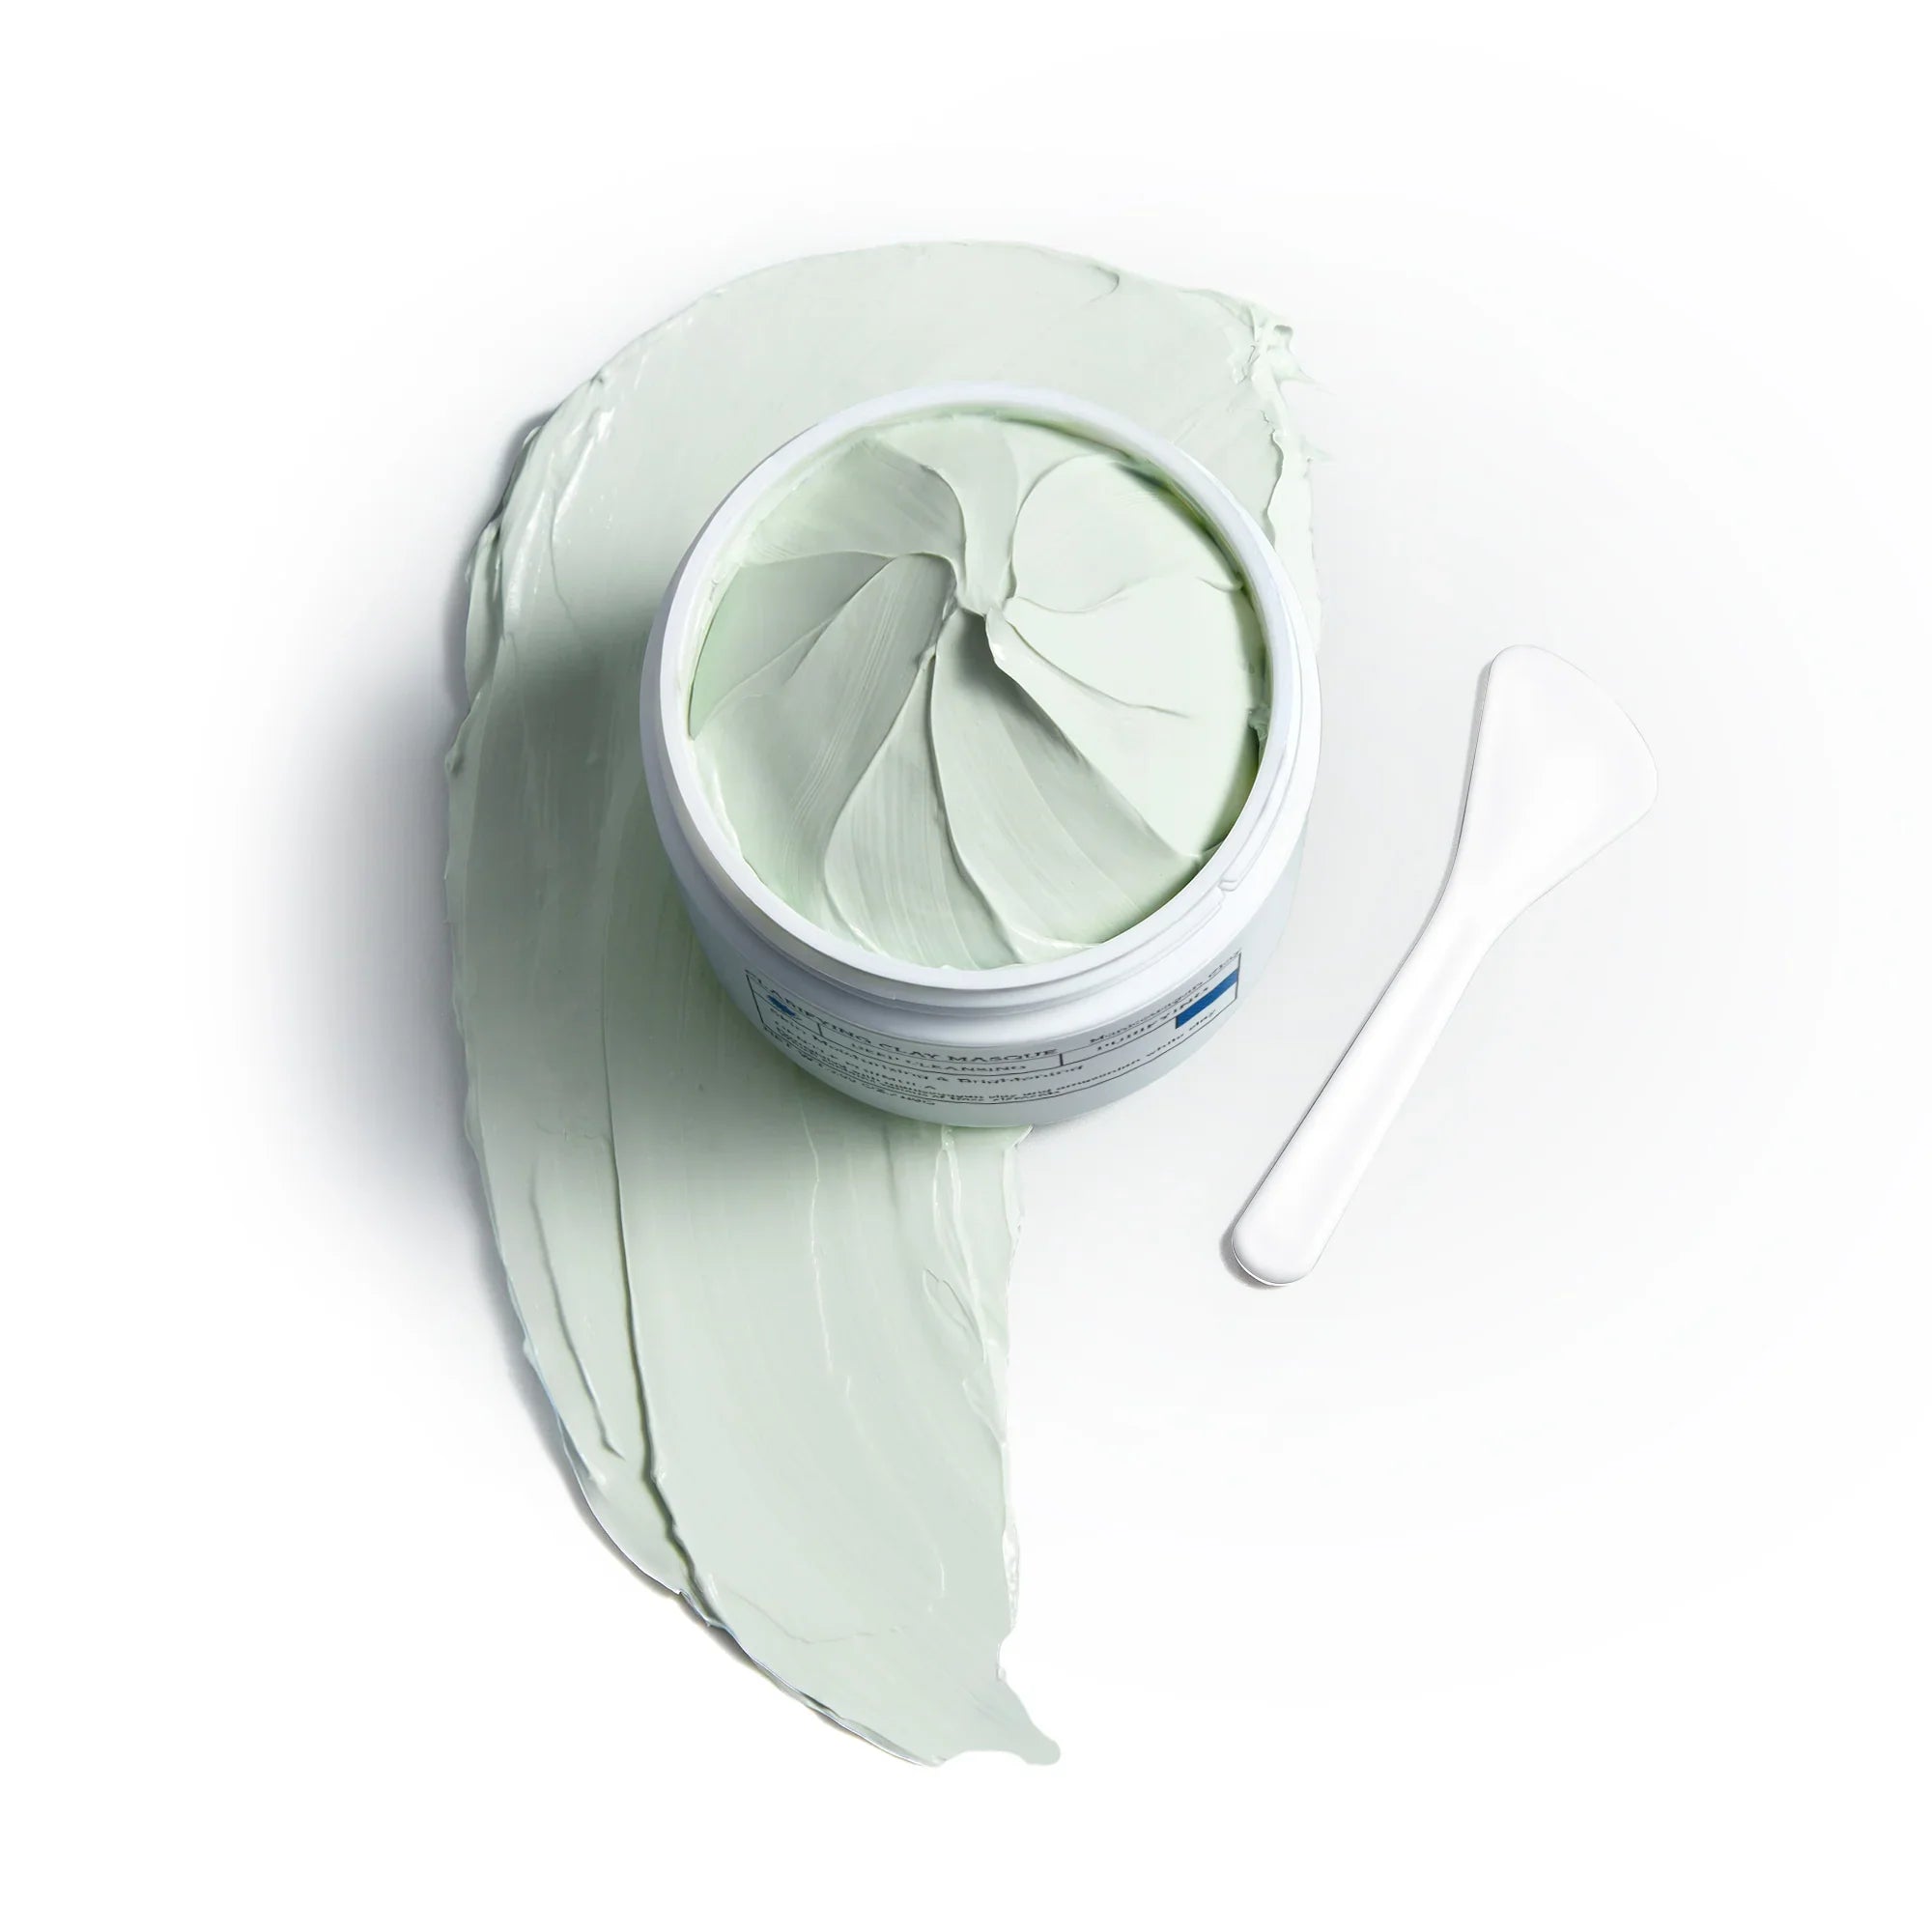
French green clay is the superstar for oily and acne-prone skin. It gets its color from decomposed plant matter and iron oxides. Think of this clay as a magnet. It is highly absorbent, meaning it drinks up sebum and pulls impurities from the skin like a vacuum. If you are dealing with a shiny T-zone or stubborn blackheads, a French green clay face mask is your best friend.
The Detoxifier: Bentonite Clay
Often called "aztec clay," bentonite clay is composed of aged volcanic ash. It is incredibly powerful. When mixed with liquid, it swells and creates an electrical charge that draws out toxins. Bentonite clay masks are brilliant for deep pore cleansing, but they can be drying. If you have sensitive skin, you need to be careful with this one.
The Gentle Giant: Kaolin Clay
White kaolin clay (or pink/red clay) is much softer. It is appropriate for dry or sensitive skin because it absorbs oil less forcefully than bentonite or green clays. Without removing the moisture barrier, it gently exfoliates dead skin cells.
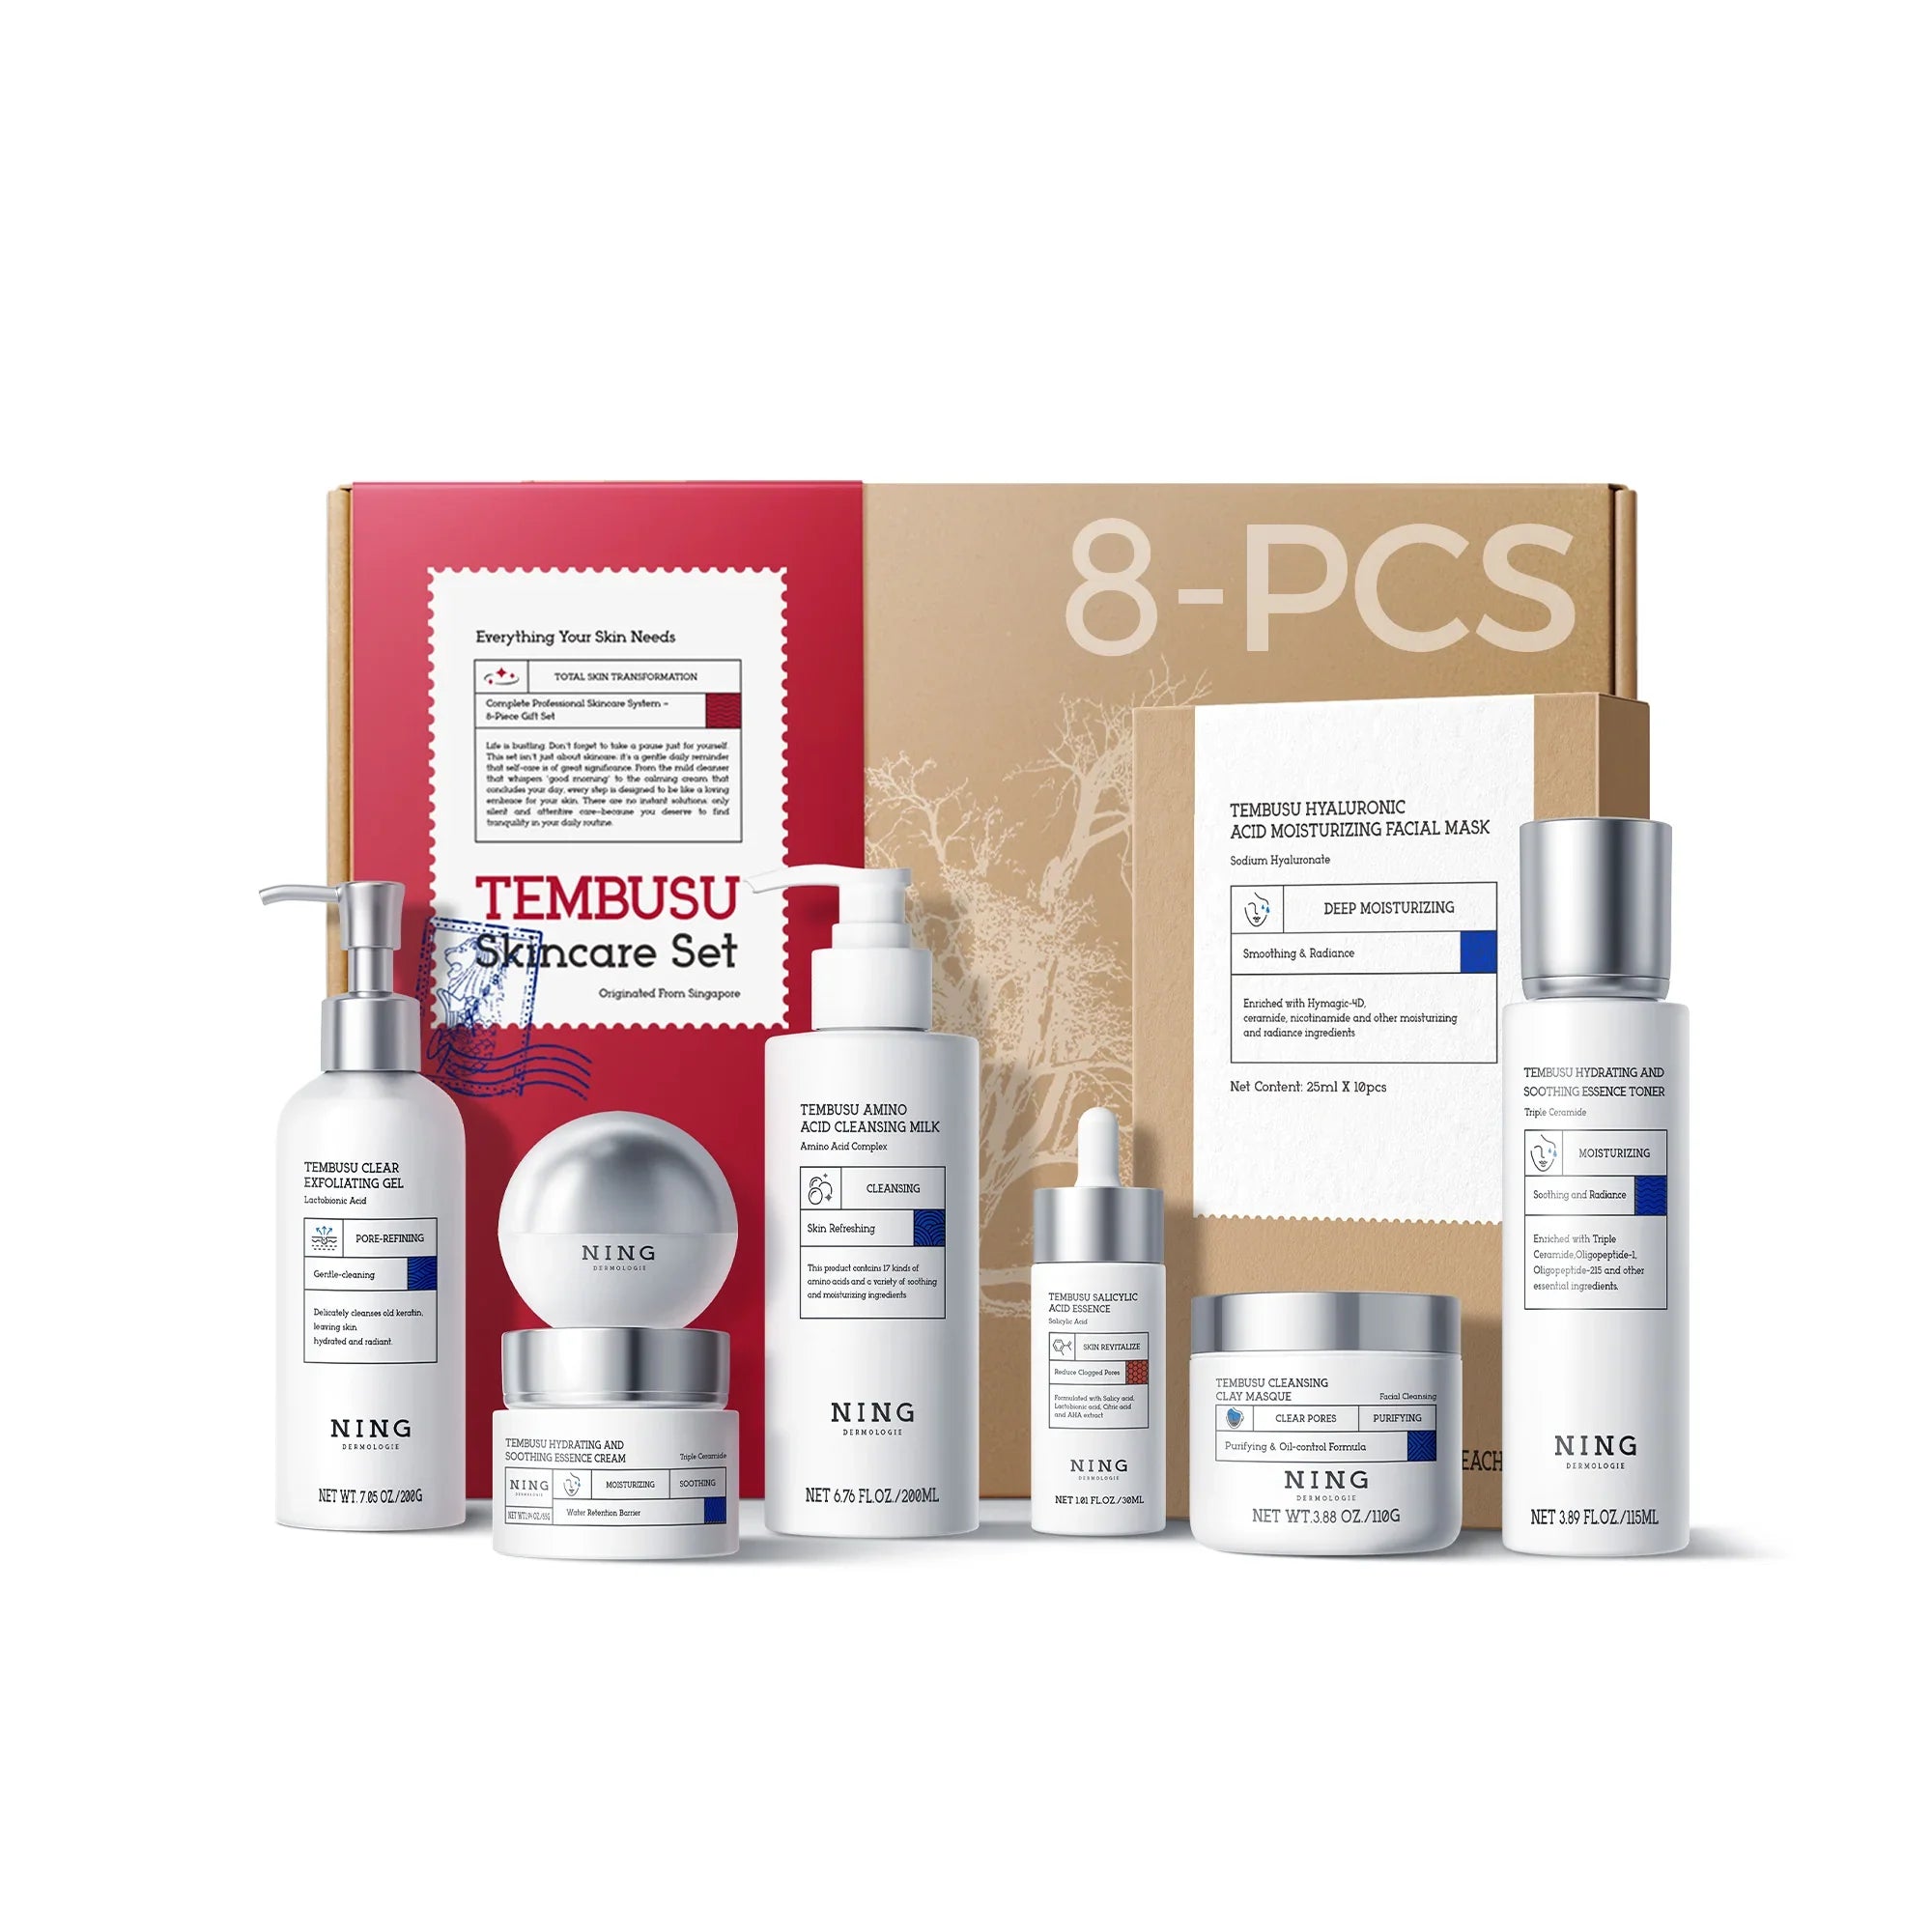
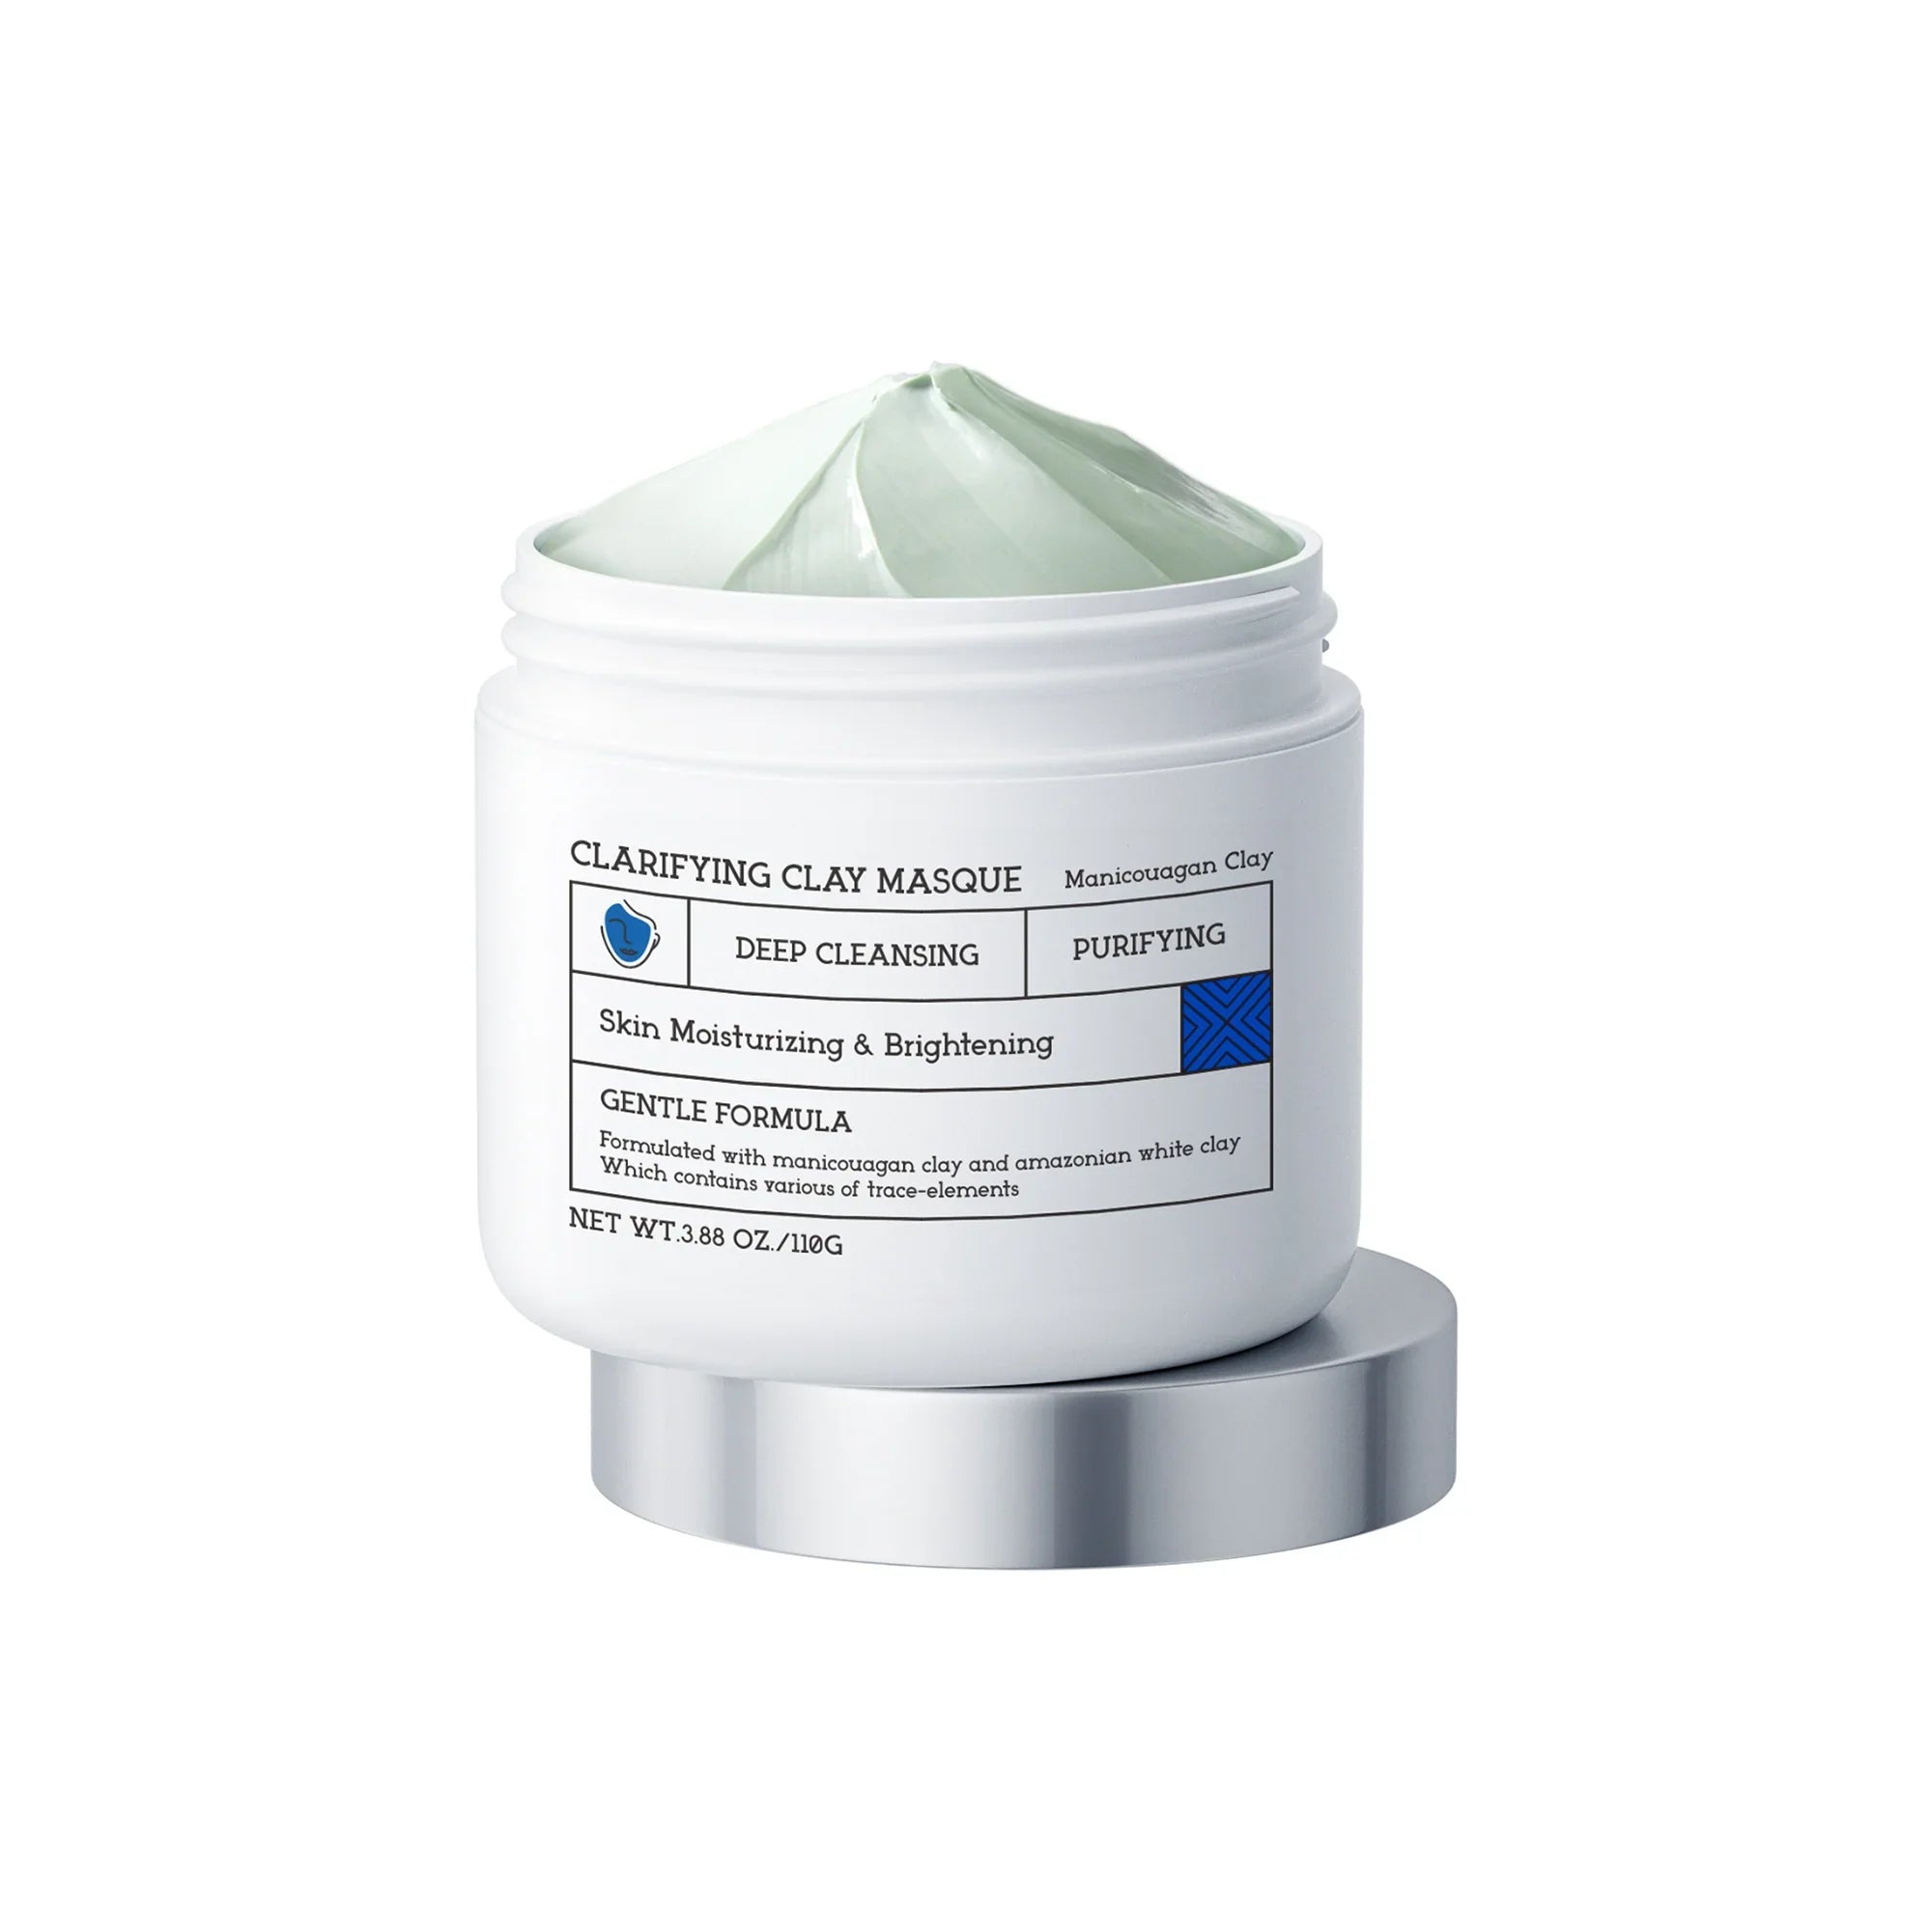
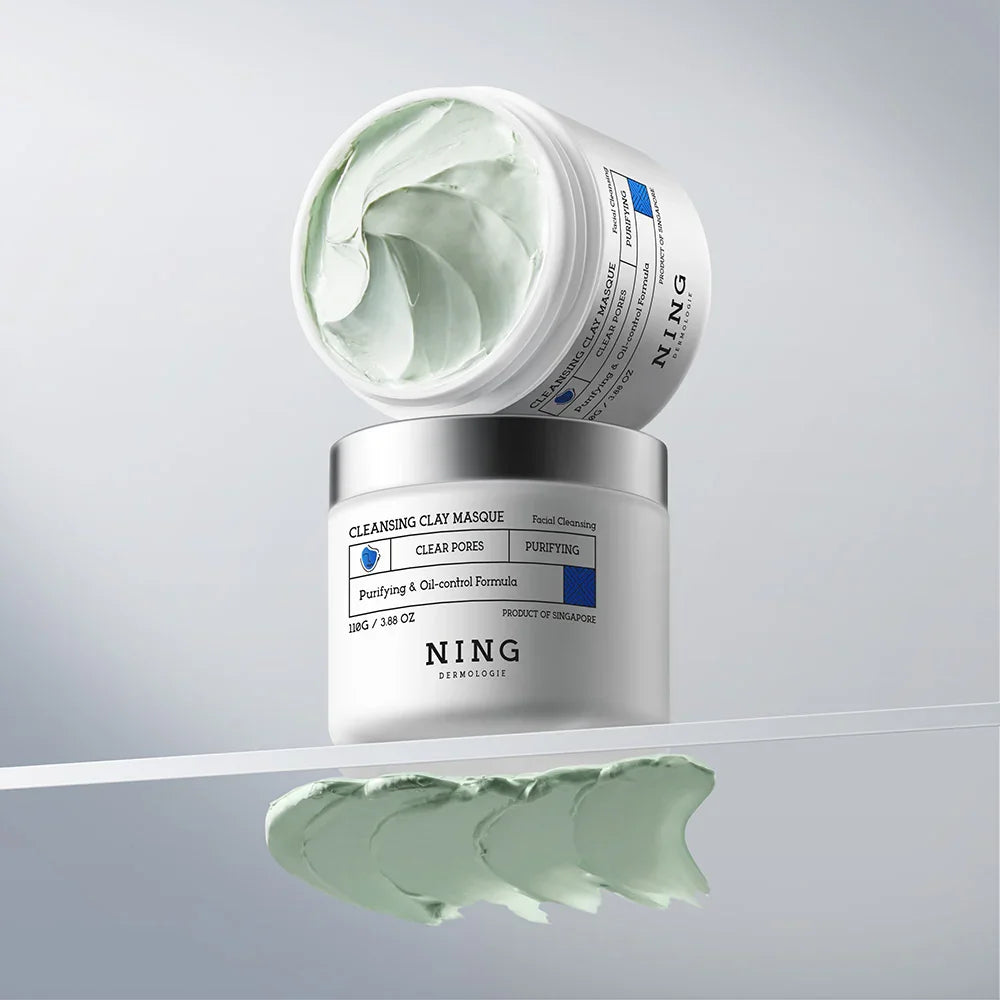
- Pro Tip from NING Dermologie: If you find raw green clay too harsh but kaolin too weak, the secret is blending them. Or, you can opt for a professionally balanced formulation like the Clay Mask for Face Sensitive Skin by NING Dermologie, which takes the guesswork out of the ratios to prevent irritation.
The Golden Rules of DIY Clay
Before you make your own face mask, memorize these three rules. Ignoring them can ruin the efficacy of your mask.
-
NO METAL: Never use a metal spoon or bowl to mix bentonite clay or French green clay. Metal reacts with the clay and reduces its ionic charge, effectively killing its detoxifying power. Use wood, glass, or plastic.
-
Consistency is Key: You want a texture like Greek yogurt, not a thick cement paste. If it's too thick, it drags on the skin; too thin, and it drips down your neck.
-
The "Dry" Myth: Do not wait for the mask to crack and crumble off your face. When a clay mask dries completely to the point of cracking, it draws moisture out of your skin cells, causing dehydration. Wash it off when it's sticky but firm (about 80% dry).
6 DIY Clay Face Mask Recipes for Every Skin Type
Here are 6 DIY recipes that move beyond basic water and clay. We are adding functional ingredients to target specific skin concerns.
1. The Classic Detox: DIY French Green Clay Face Mask
Best for: Oily skin, Acne, Blackheads
This is the standard clay face mask recipe for deep cleaning. We use Apple Cider Vinegar (ACV) because its acidity helps balance the high pH of the clay.
- 1 tbsp French green clay powder
- 1 tsp Apple Cider Vinegar (with the mother)
- 1 tsp Water (adjust for texture)
Instructions: Mix the fluids first, then slowly add the clay. Stir with a wooden spatula until smooth. Apply to your face and neck. This green clay mask will pulsate slightly—that's normal! It’s the increased blood flow helping to heal acne.
2. The "Calm Down": Matcha & Clay
Best for: Inflamed Acne Prone Skin, Redness
Combining clay and green tea creates an antioxidant powerhouse. The EGCG in green tea soothes irritation while the clay works on the oil.
- 1 tbsp Green Clay
- 1 tsp Matcha Powder (or brewed strong green tea)
- 1 tbsp Aloe Vera Gel
Instructions: If using brewed tea, let it cool completely. Mix with clay and aloe. This is a fantastic anti-aging mask as well because of the antioxidants. It leaves your skin feeling cool and refreshed.
3. The Hydration Hero: Clay and Jojoba Oil
Best for: Combination Skin, Dry Skin
Yes, you can use clay if you have dry skin! You just need to buffer it. Clay and jojoba oil are a perfect match because jojoba closely mimics human sebum.
- 1 tbsp White Kaolin Clay (or half Green, half Kaolin)
- 1/2 tsp Jojoba Oil
- 1 tbsp Rosewater
Instructions: Whisk the oil and rosewater, then fold in the clay. This homemade clay mask cleanses pores without the "tight" feeling afterwards.
4. The Bacterial Buster: Turmeric & Bentonite
Best for: Cystic Acne, Dullness
Bentonite clay masks are intense, and turmeric is naturally antibacterial. This is a go-to remedy for acne-prone skin.
- 1 tbsp Bentonite Clay
- 1/2 tsp Turmeric Powder
- 1 tbsp Apple Cider Vinegar
- 1 drop Tea Tree Essential Oil
Instructions: Be careful, turmeric can stain! Apply a thin layer. The tea tree essential oil adds an extra kick against acne bacteria. This diy bentonite clay mix is a heavy hitter for breakout emergencies.
5. The Exfoliator: Yogurt & Green Clay
Best for: Rough Texture, Clogged Pores
Yogurt contains lactic acid, which helps dissolve dead skin cells chemically, while the clay works physically.
- 1 tbsp French Green Clay
- 1 tbsp Plain Organic Yogurt (Greek is best)
- 1 tsp Honey
Instructions: Mix into a creamy paste. The honey acts as a humectant, keeping your skin hydrated while the clay purifies. This is a great easy DIY for a Sunday morning.
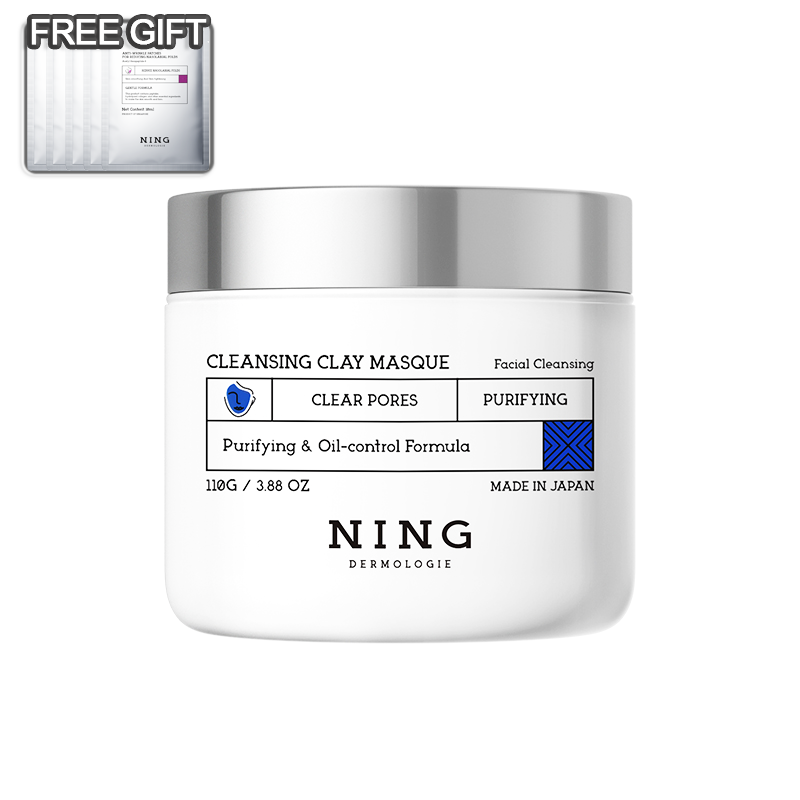
6. The "I Have No Time" Solution: NING Dermologie
Best for: Sensitive Skin, Busy Schedules
Sometimes, making your own clay mask is too messy, or you are traveling. Or perhaps your skin is so reactive that raw ingredients cause a flare-up.
For those moments, we recommend keeping a tube of NING Dermologie on hand. Their Clay Mask for Face Sensitive Skin is professionally formulated to provide the benefits of a facial mask—tightening pores and absorbing oil—without the risk of over-drying. It uses a refined blend that balances benefits for acne prone skin with soothing botanicals. It’s the "DIY result" without the "DIY mess."

Application and Care: Elevate Your Routine
Knowing how to make the mask is half the battle; how you use it matters just as much.
Pre-Mask Prep
Always start with a clean face. Use warm water to gently open your pores. Mist your face with water or a toner before applying the clay. Applying a clay based mask to damp skin helps it spread evenly and prevents it from drying out too fast.
Essential Oils: Proceed with Caution
We mentioned essential oil in the recipes above, but be careful. Never apply essential oils directly to the skin; they must be diluted in the mask.
- Tea Tree: Great for acne.
- Lavender: Soothes itchy skin.
- Geranium: Balances oil production.
- Chamomile: Calms sensitive skin.
Add only 1-2 drops maximum per mask.
How to Remove the Mask Properly
Don't scrub! Scrubbing hard dried clay can damage your skin barrier.
-
Soak a washcloth in lukewarm water.
-
Press the warm cloth against your face for 30 seconds to rehydrate the clay.
-
Gently wipe away the clay.
-
Rinse with cool water to close the pores.
Post-Mask Skincare Routine
After you remove the mask, your skin is primed to absorb nutrients. Immediately apply a hydrating toner and a moisturizer. If you used a French green clay face mask, your skin might feel temporary redness due to increased circulation—this is a good thing, known as "cutaneous vasodilation," provided it fades in 30 minutes.
Why Choose Green Clay for Acne Prone Skin?
We keep coming back to green clay because it is uniquely suited for modern skin problems. Clay is rich in minerals like calcium, magnesium, silica, and phosphorus.
For acne prone skin, the struggle is usually a combination of excess sebum and bacteria. French green clay doesn't just sit on the surface; it penetrates deep into the pore. It binds to bacteria and pulls it to the surface. Furthermore, using a clay mask regularly (1-2 times a week) trains your pores to regulate oil production, rather than just reacting to it.
Whether you choose a simple DIY recipe with just water and clay powder, or a complex blend with essential oils and yogurt, the key is consistency.

Final Thoughts: Natural Face Care Made Simple
Creating DIY face mask recipes is a journey of understanding your own biology. Some days your skin is oily and needs the strong detox of bentonite clay. Other days, it feels tight and needs the gentle touch of kaolin clay or a formulated product like NING Dermologie.
You can quickly treat breakouts, dullness, and congestion by keeping a jar of French green clay powder in your cabinet. Recall that using the proper natural ingredients consistently and correctly is more important for healthy, radiant skin than costly treatments.
Now, go find that non-metal bowl and mix up some magic!
Frequently Asked Questions (FAQ)
1. How often should I use a green clay mask?
For oily skin or acne-prone skin, you can use a green clay mask 1 to 2 times a week. However, if you have dry or sensitive skin, limit usage to once a week or even once every two weeks. Over-using clay can strip your natural oils, triggering your skin to produce more oil to compensate, which defeats the purpose. Always listen to your skin—if it feels tight or itchy the next day, scale back frequency.
2. Can I make a large batch of DIY clay mask to save for later?
No, you shouldn't. Because DIY clay recipes contain water (or yogurt/tea) and lack preservatives, they are a breeding ground for bacteria and mold if left sitting. It is best to make the mask fresh every time you intend to use it. If you need a convenient, ready-to-use option that stays shelf-stable, opt for a preservative-safe product like the NING Dermologie clay mask instead of a homemade clay mask.
3. Why does my face get red after using a French green clay mask?
In fact, mild redness is common and often desired! French green clay promotes blood flow to the skin's surface, aiding in cell renewal and healing. After taking off the mask, this "flush" should go away in 20 to 30 minutes. However, you might have sensitive skin or an allergy to an additive (such as vinegar or essential oils) if the redness burns, itches severely, or persists for hours.
4. What is the difference between Bentonite and French Green Clay?
Bentonite clay (volcanic ash) swells when mixed with water and is known for its intense electrical charge that detoxifies heavy metals and deep congestion. It is excellent for cystic acne. French green clay (plant matter/minerals) is more focused on oil absorption and mineralizing the skin. Green clay is generally better for "grease control," while Bentonite is better for "deep pore detox." Both are great for oily skin types.
5. Can I use tap water for my DIY face mask recipes?
While you can use tap water, distilled or filtered water is better. Tap water often contains chlorine and hard minerals that can interact with the clay powder or irritate sensitive skin. For added mask benefits, skip the water entirely and use functional liquids like cooled green tea (antioxidants), rosewater (soothing), or raw apple cider vinegar (pH balancing) to mix your clay face mask.
6. My clay mask is too clumpy, what did I do wrong?
This is a common issue when making your own clay mask. The trick is to add the fluid to the bowl first, and then sprinkle the clay powder onto the liquid, letting it sink in for a few seconds before stirring. Also, ensure you are not using a metal spoon. If it's still clumpy, let the mixture sit for a minute to allow the clay to fully hydrate before giving it a final stir to achieve that smooth, spa-like texture.


Share:
DIY vs. Curated: Should You Build Your Own Routine or Buy a Pre-Packaged Skincare Set?
Unlock Radiant Skin: The Ultimate Guide to Green Clay Masks